Configuring and Managing Custom Views
Learn how to configure and manage Custom Views in your Organization.
Working with Custom Views involves two phases: development and production usage.
As a developer, you begin with the local development of your Custom View. For more information, refer to Develop customizations for the Merchant Center.
This document describes the necessary steps to configure and install your Custom View in the Merchant Center. The process involves:
- Configuring the Custom View for your Organization.
- Installing the Custom View to make it accessible in the Projects of your Organization.
Configuring Custom Views
Adding a Custom View
Click the profile icon and select Manage Organizations & Teams.
Select the Organization for which you wish to configure a Custom View.
Click the Custom Views tab.
Click Configure Custom Views.
At this point, you can add a contact email address of the Custom View's developer or maintainer. Refer to Verifying contact email address for more details.
Click Add a Custom View.
Fill out the form to configure a new Custom View. Specify the same information that you have previously defined in the local Custom View config file.
Click Register Custom View.
Now, the configuration is stored in the Merchant Center and a Custom View entity is created. The Custom View is currently in the Draft state.
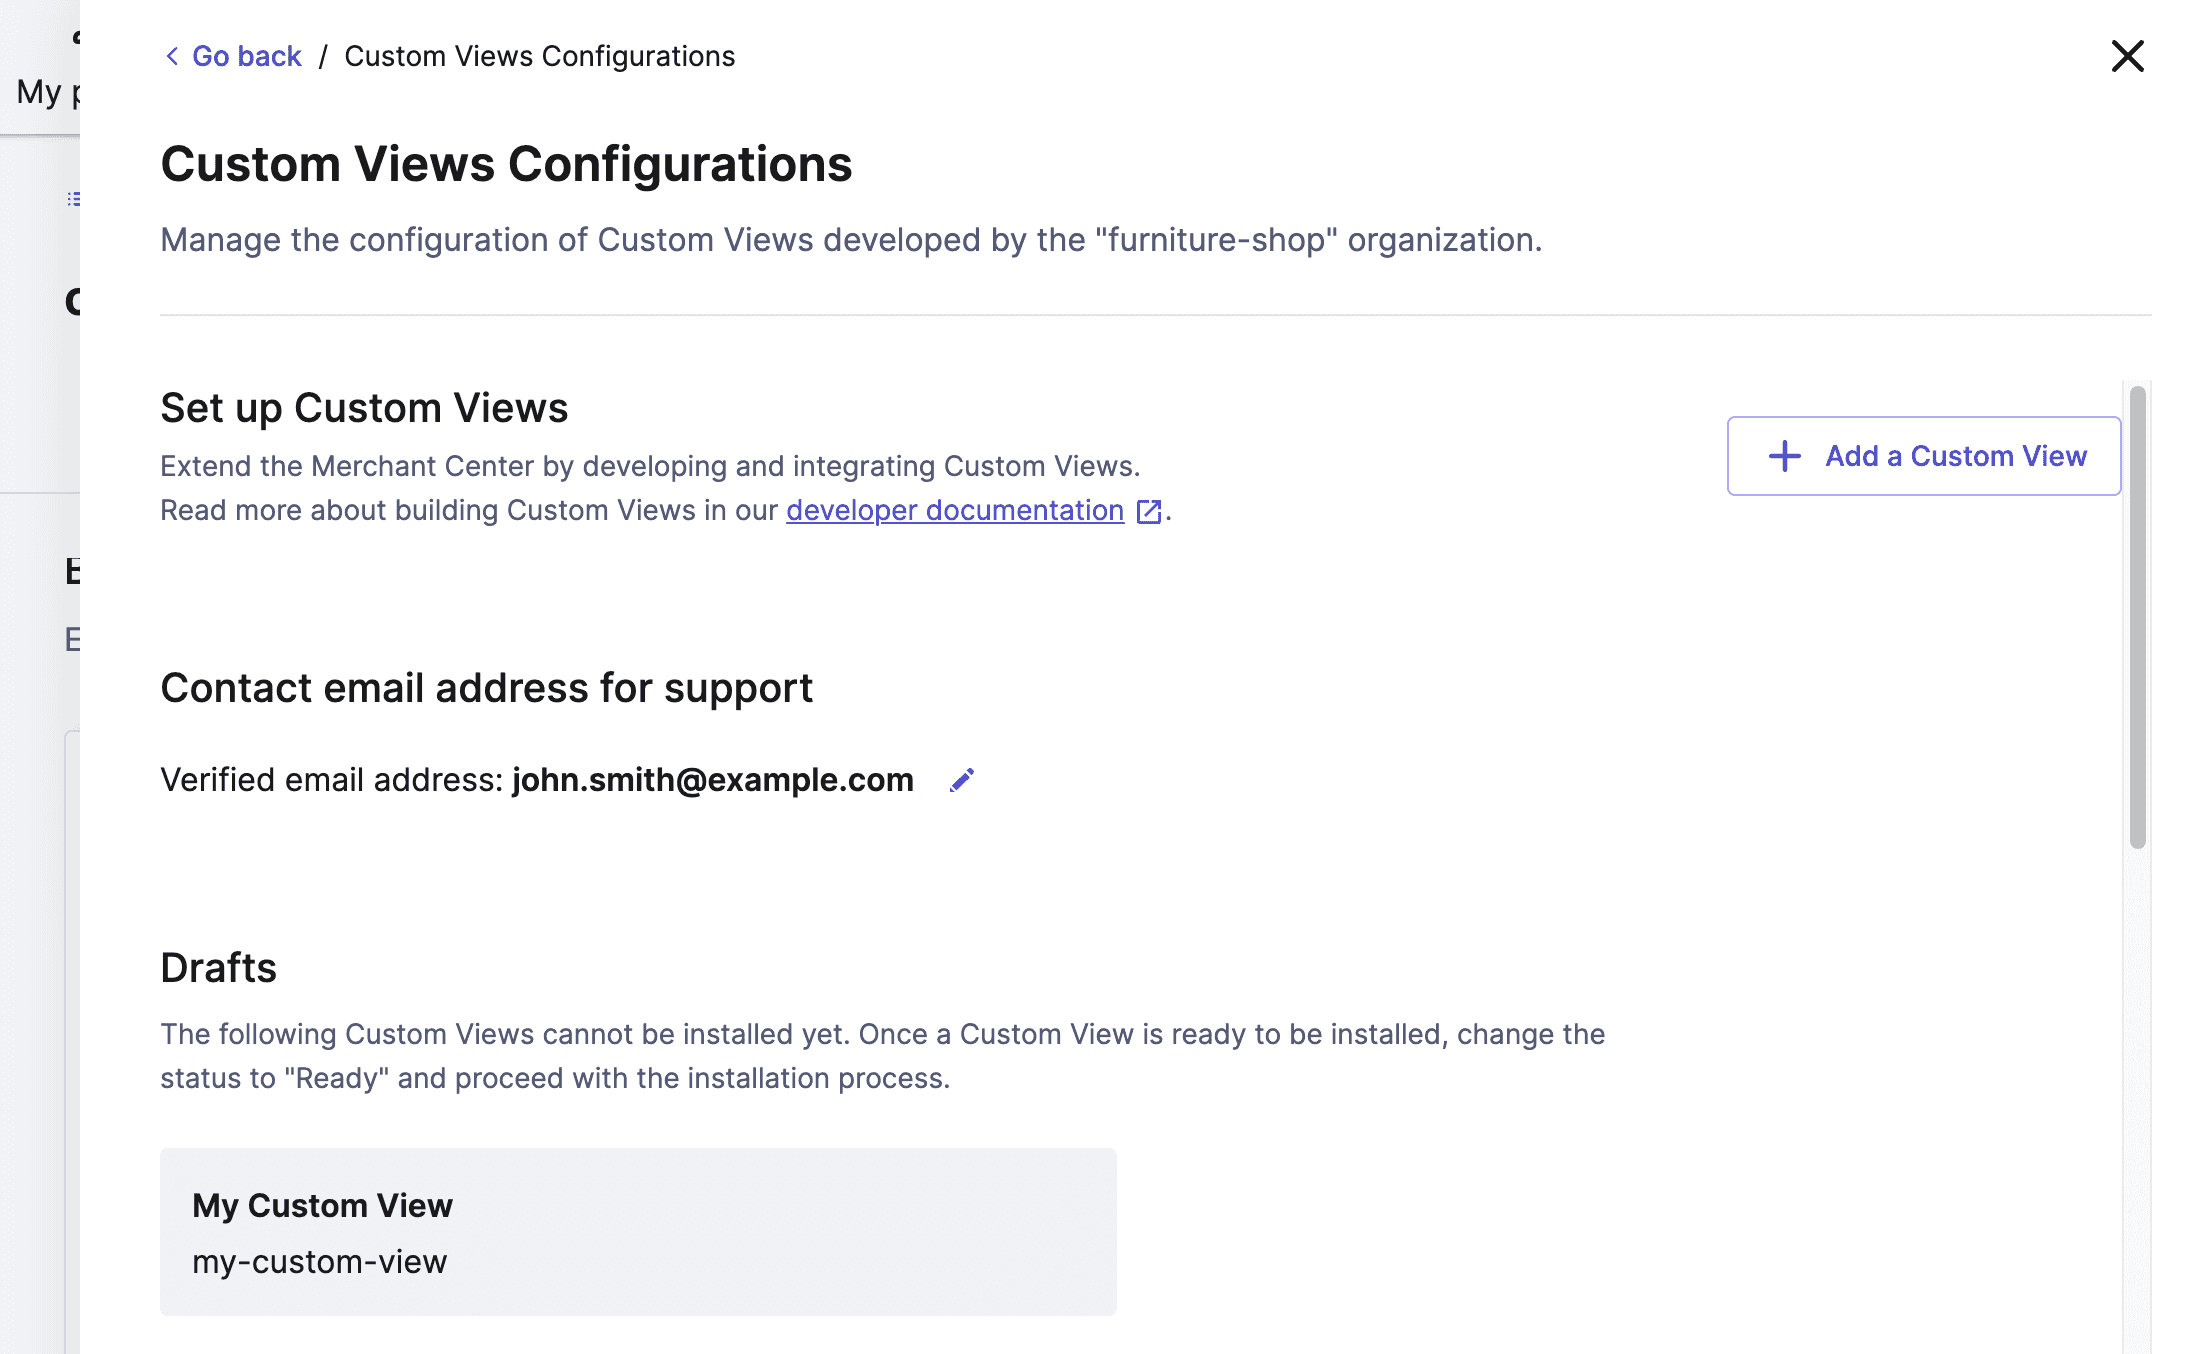
A Custom View has two states:
- Draft: the Custom View is not ready to be installed. Administrators can still apply changes.
- Ready: the Custom View is ready to be installed in one or more Projects of an Organization where you have administrator rights. Once installed, the Organization's users can access the Custom View according to their Team's permissions.
Before proceeding with the installation step, you need to perform the following actions:
Verifying contact email address
Working on Custom Views requires commercetools to contact the developers or owners of Custom Views from time to time, primarily for updates and support purposes. Hence, we require that every Organization using Custom Views provides a valid and verified contact email address.
To add a new email address, do the following:
- In the Configure Custom Views screen, click Add new email address.
- Specify a valid email address.
- Click Save.
To update an existing email address, do the following:
- In the Configure Custom Views screen, click the edit icon in the Contact email address for support section.
- Specify the email address in the Edit contact email address dialog.
- Click Save.
You will receive an email at the provided address. Click the verification link inside the email.
If you don't receive an email, please verify that you've provided the correct email address. If you've provided an incorrect email address, update the address and click Resend verification email.
The previously validated email address remains valid until the new email address is verified.
Assigning the Custom View ID
Once you add a new Custom View, a unique ID is generated for the Custom View. Copy the Custom View ID and add it to the Custom View Config file, then redeploy your Custom View.
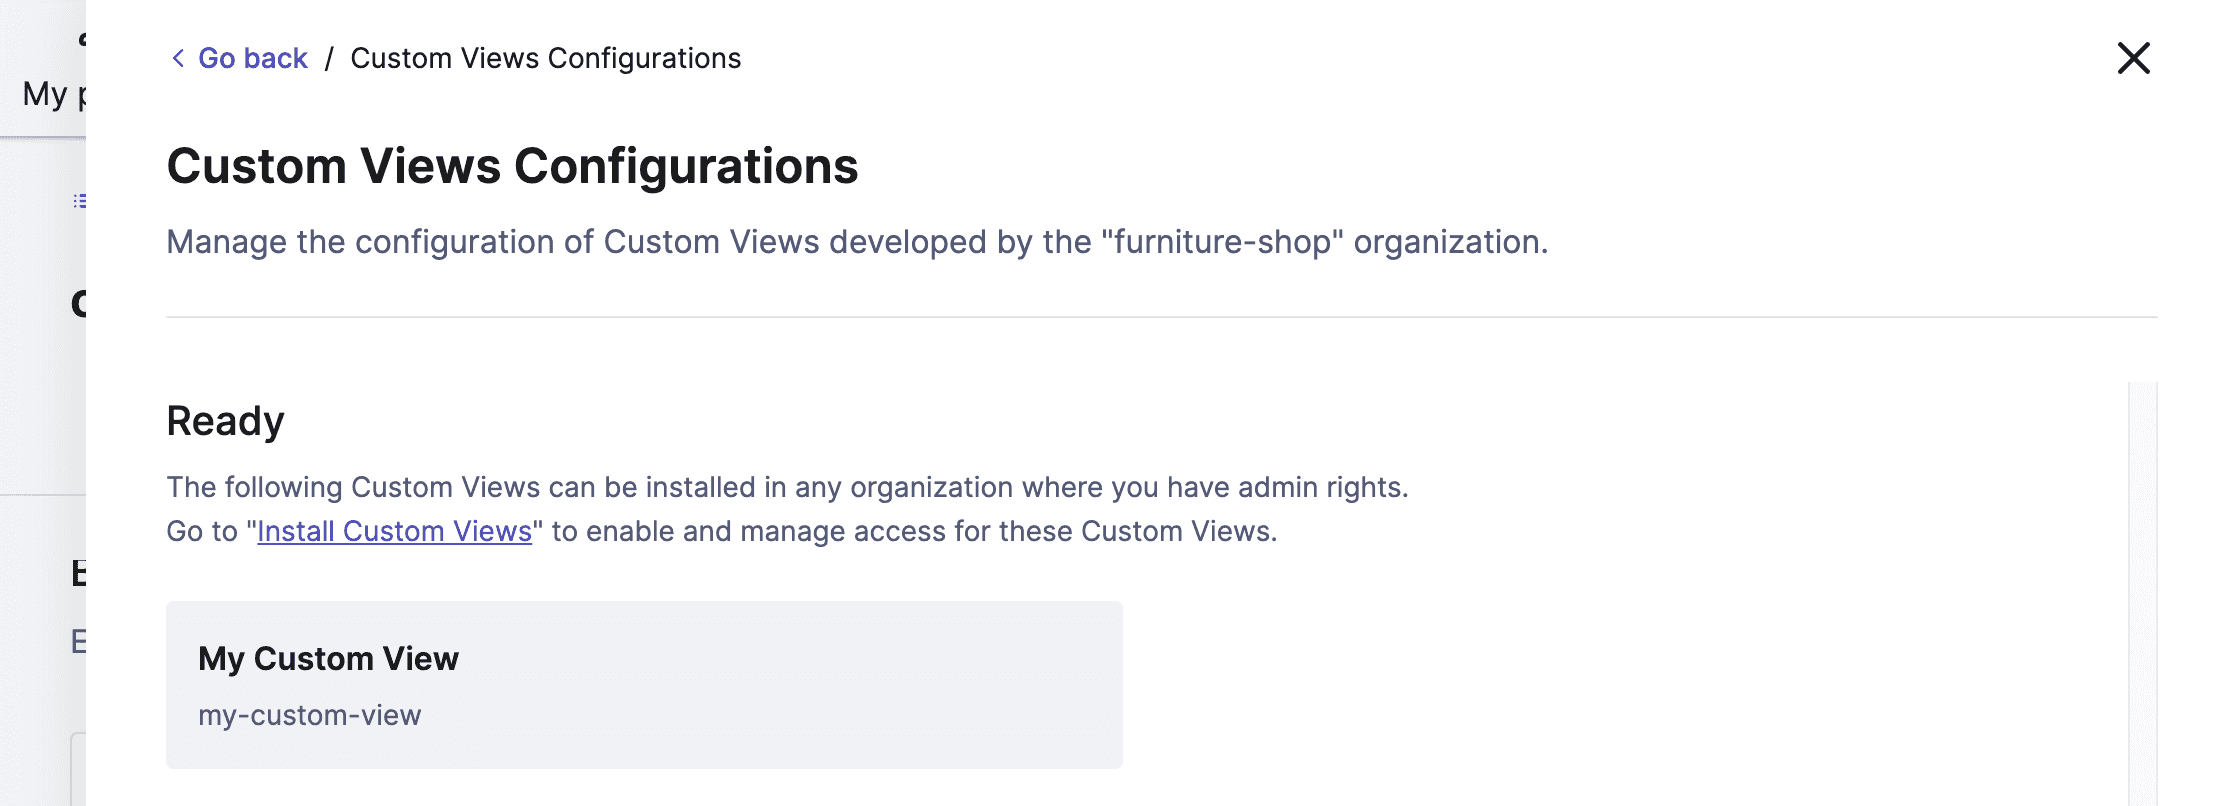
Moving a Custom View to the Ready state
By default, a Custom View is in the Draft state. This state signifies that the owners or developers are finalizing the development and configuration of the Custom View.
To install a Custom View in an Organization, you must first move it to the Ready state.
- Add and verify a contact email address before moving a Custom View to the Ready state.
- A Custom View cannot be deleted in the Ready state. Refer to Deleting a Custom View for more details.
In the configuration details page of your Custom View:
- Click the State drop-down menu, choose Ready.
- Click Confirm in the confirmation dialog. The Custom View is now Ready for installation.
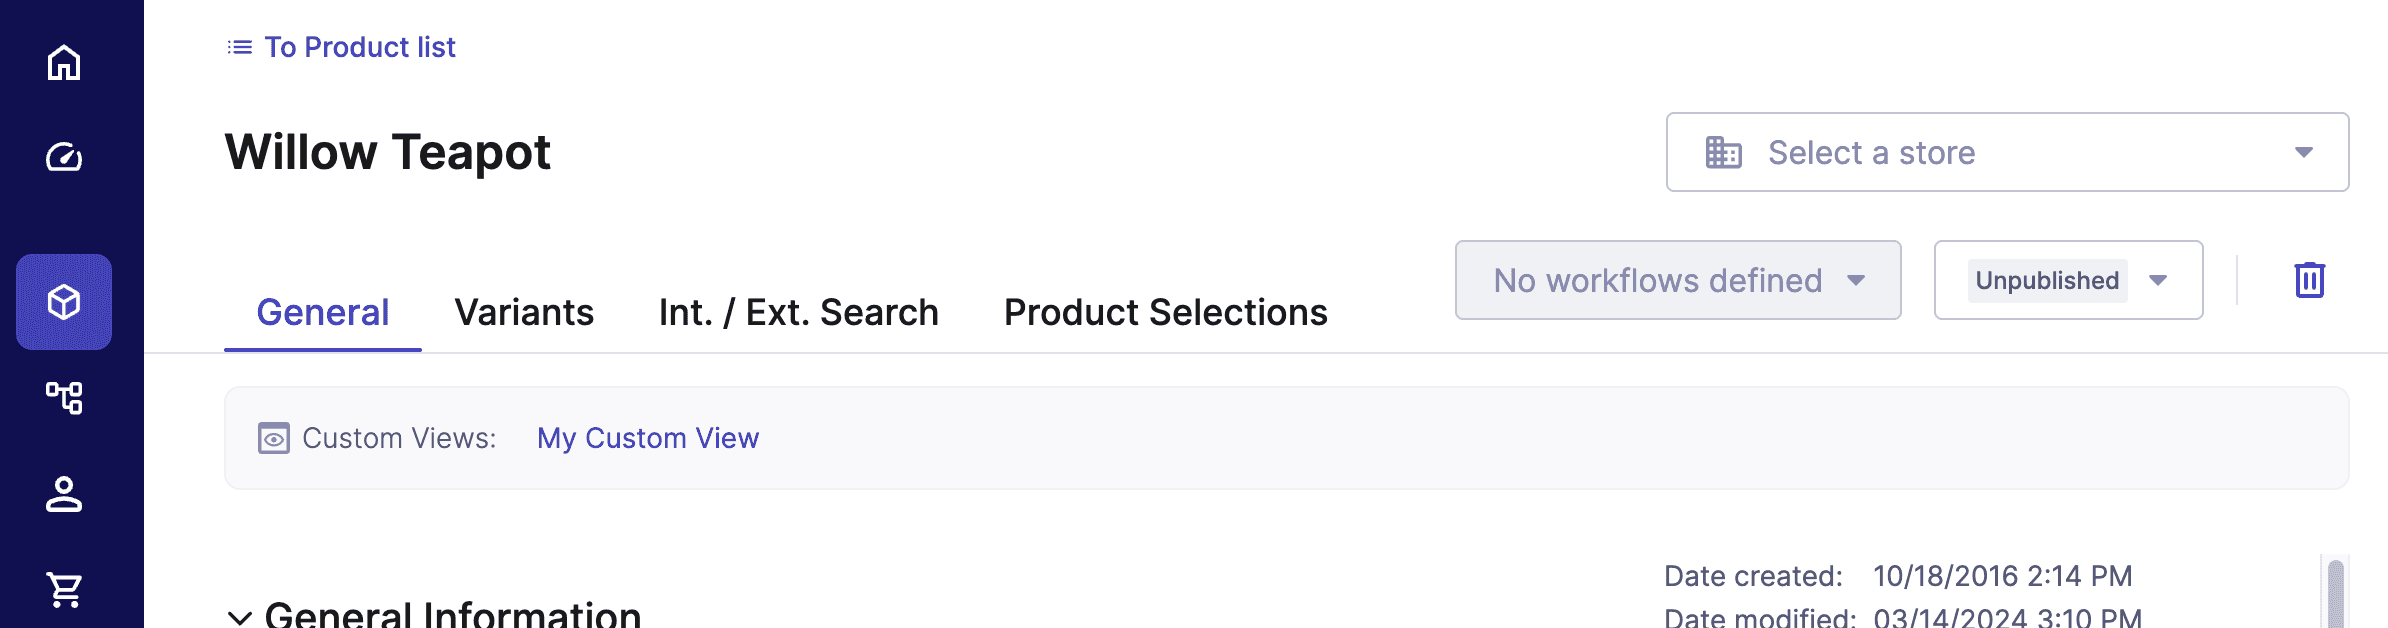
Locating installed Custom Views
After installing the Custom View, users will be able to interact with it in the Merchant Center areas you selected as entry points.
A Custom View selector displays the names of the Custom Views available for the current area. To open the installed Custom View, click the Custom View name in the Custom View selector.

The Custom View selector is displayed at the top of the content area below the page title and description. For tabular pages, the Custom View selector is displayed below the tabs selected as entry points when adding the Custom View.
Moving a Custom View to the Draft state
- A Custom View cannot be installed in an Organization while in the Draft state.
- Changing the state from Ready to Draft results in the Custom View being uninstalled from all Organizations and Projects.
In the configuration details page of your Custom View:
Click the State drop-down menu, choose Draft. The Custom View is now in the Draft state. While in this state, you can update the configuration or delete the Custom View.
Deleting a Custom View
To delete a Custom View, it must be in the Draft state.
To delete a Custom View, click the delete icon, then click Confirm in the Delete Custom Views dialog. The Custom View is then removed from the Configured Custom Views: Draft section.
Managing Custom Views
Installing a Custom View
Install a Custom View to make it accessible in the Projects of your Organization.
A Custom View can be installed in multiple Organizations where you have administrator rights.
Click the profile icon and select Manage Organizations & Teams.
Select the Organization for which you wish to install a Custom View.
Click the Custom Views tab.
Click Install Custom Views.
This page shows the Custom Views that have been Installed in the current Organization.
In addition, you can see the list of Custom Views that are Ready for installation and have not been installed yet in the current Organization. The list might include Custom Views defined in other Organizations where you have administrator rights.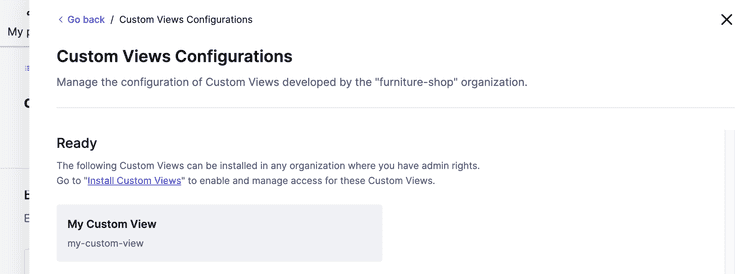
Choose a Custom View from the Ready for installation section. Refer to Moving a Custom View to the Ready state for more details.
The installation process can also be triggered by clicking on the Install Custom View button in the configuration details page:
- Click the profile icon and select Manage Organizations & Teams.
- Select the Organization for which you wish to install a Custom View.
- Click the Custom Views tab.
- Click Configure Custom Views.
- Select a Custom View from the Configured Custom Views: Ready section.
- Click Install Custom View.
- Select an Organization to install the Custom View, then click Continue. Only Organizations where you have administrator rights can be selected.
Review the permissions listed in the Requested permissions section. A user must have at least View permission to access the Custom View in the Merchant Center.
In the Projects access section, grant Projects access by selecting one of the following options:
- Install for all projects of this organization: grants access to all projects of an Organization.
- Install for selected projects only: grants access only to selected projects of an Organization. To do so, select the Projects from the Select projects drop-down list.
Click Save.
You can now access the Custom View within the respective Merchant Center Projects.
Depending on the setup of your Organization, you can assign Team permissions to your Teams.
By default, the Administrators Team can access and modify the installed Custom Views.
Updating Projects access
You can grant or revoke Projects access for a Custom View.
Click the profile icon and select Manage Organizations & Teams.
Select the Organization.
Click the Custom Views tab.
Click Install Custom Views.
Choose the Custom View.
In the Projects access section, select one of the following options:
Install for all projects of this organization: grants access to all projects of an Organization.
Install for selected projects only: grants access only to selected projects of an Organization. To do so, select the Projects from the Select projects drop-down list.
To revoke access for selected Projects of the Organization, click the Revoke access button next to the desired Project in the selected projects list.
Click Save.
Assigning Team permissions
To grant access to Custom Views to individual Teams, you must configure each Team's permissions. Members of the Team can view and access the Custom View in the Merchant Center, based on the given permissions.
Click the profile icon and select Manage Organizations & Teams.
Select your Organization.
Choose a Team, then click the Permissions tab.
Select the desired Project from the Select project drop-down.
Make sure to select Projects that have been granted access to the Custom View.
In the Custom Views section, choose the desired Custom View and configure the permissions for the Team. A Custom View always has a default permission group. At the very minimum, you need to assign View only to allow users to access the Custom View. Additionally, you can use more granular permission groups to cover specific business requirements.
- View only: view resources in a Custom View.
- View and edit: view, create, modify, and delete resources in a Custom View.
Uninstalling a Custom View
To remove a Custom View from all the Projects in an Organization:
- Click the profile icon and select Manage Organizations & Teams.
- Select the Organization for which you wish to uninstall a Custom View.
- Click the Custom Views tab.
- Click Install Custom Views.
- Choose a Custom View from the Installed section.
- Click Uninstall.
- Click Confirm in the Uninstall the Custom View dialog.