Import data
Learn how to import Categories and Products using a CSV file.
Import-related functionality and the Import API are only available in Google Cloud Regions.
Merchant Center lets you perform bulk data import by uploading data from a CSV file.
Create a CSV file
The following CSV templates provide an example of how to import data from CSV files. The data contained in these templates is compatible with our sample data.
- For categories, you can download the template here.
- For products, since the data can be complex, you can do any of the following:
- Import a large CSV file containing the complete product data. You can download the template here.
- Import smaller CSV files containing the data for prices, price tiers, assets, and images. You can download the templates here for prices, price tiers, assets, and images.
Upload a CSV file
To import data, the Administrators Team must grant you the following permissions for the Project:
- View and edit all: Operations permission for importing resources through CSV files
- View and edit all: Categories permission for importing Categories
- View and edit all: Products permission for importing Products
Go to Operations > Import, and click the Upload files tab.
Select the resource type from the drop-down, upload the file, and then click Upload file.
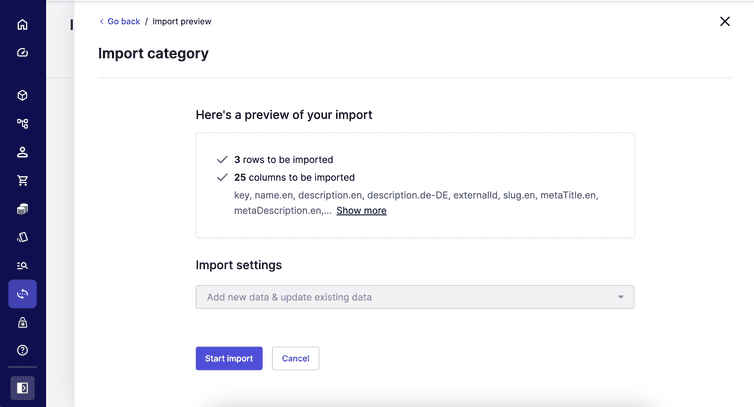
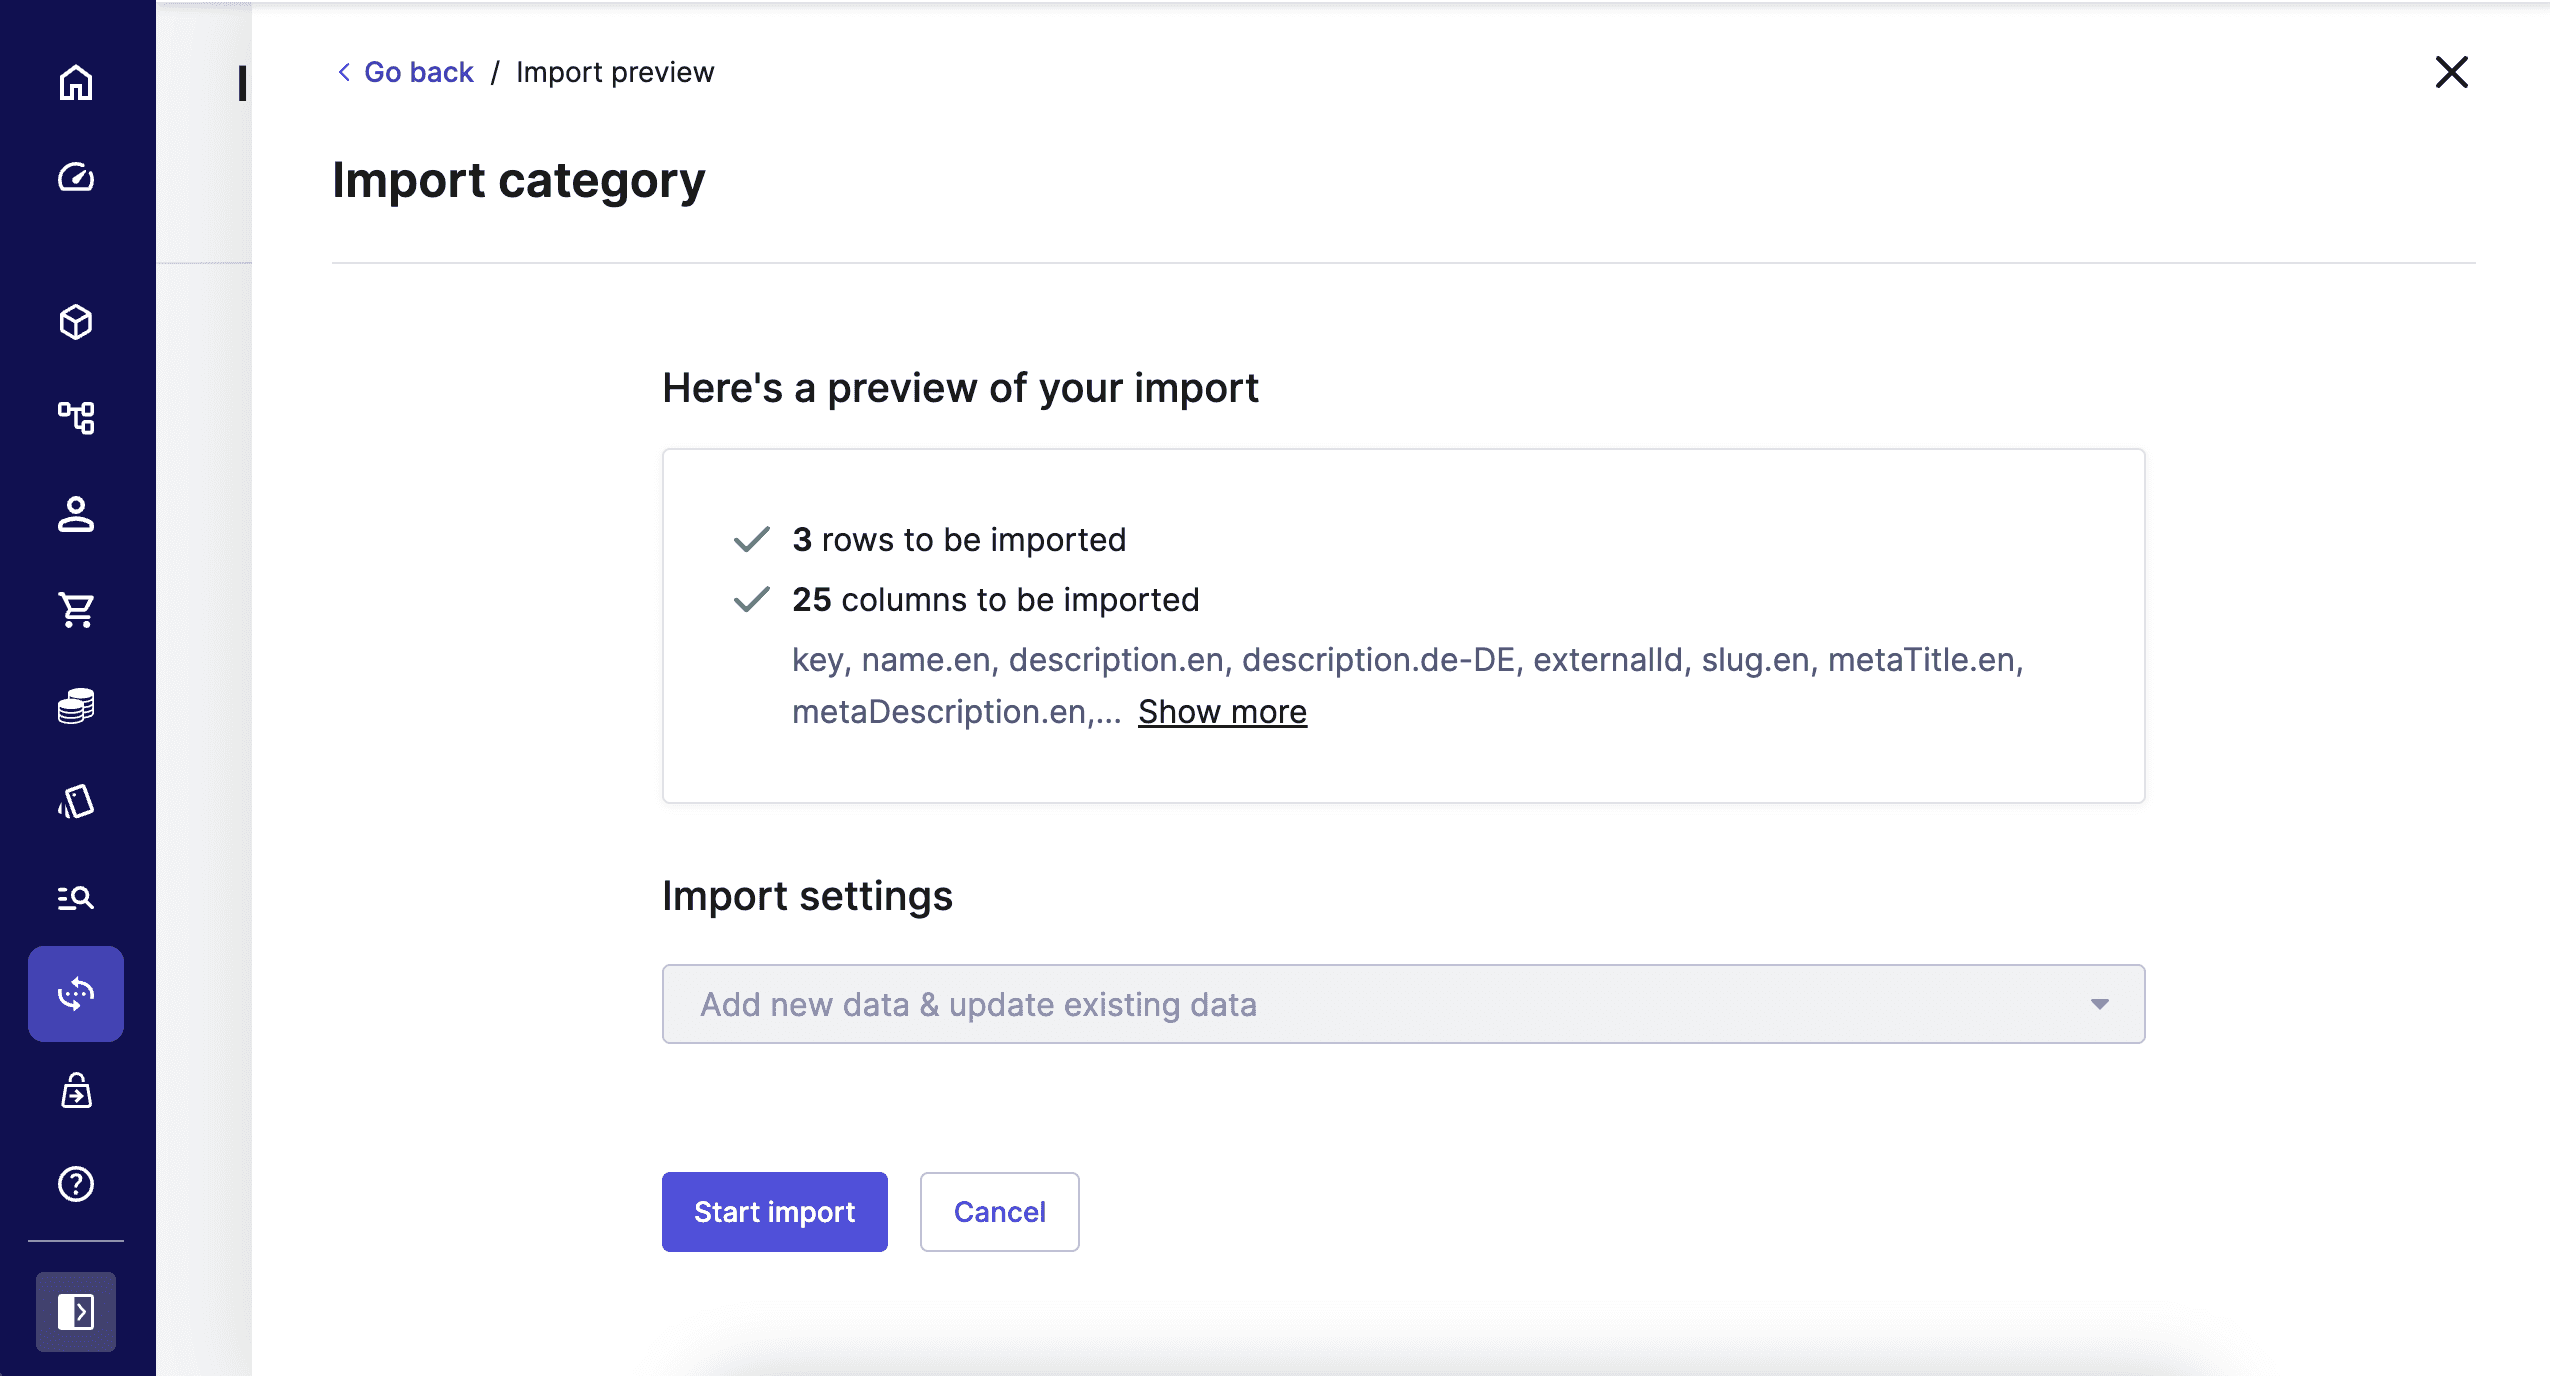
After the file is uploaded and validated successfully, verify the information, and then click Start import. You can also upload another file simultaneously while an import operation is running.
To monitor the import progress, click the Import logs tab. For more information, see Import logs.
Import logs
To access the import logs, the Administrators Team must grant you the View all: Operations permission for the Project.
Import logs are historical records of all your import activities performed in the last 48 hours using the Merchant Center or Import API. It helps you track the import progress, and check errors and pending actions in Import Containers.
To access the import logs, go to Operations > Import, and then click the Import logs tab. The import logs table is generated when the page is loaded. To update the visible data thereafter, click the refresh button.
The import log table has the following columns:
- Time created: date and time the import container was created.
- Import container key / File name: name or unique key of the import container.
- Import type: indicates the method of data import:
- Automated import: imported using the Import API.
- Manual file upload: imported from a CSV file.
- Resource type: resource type provided at the time of the import container creation.
- Status: import status of an import container:
- Successfully completed: all resources were successfully imported.
- Partially completed: some import operations were successful while others are in
FailedorUnresolvedstates. - Failed: all import operations were unsuccessful.
- Processing: some import operations are still in progress.
- Wait for unresolved references: some import operations are
Unresolvedand are awaiting missing or undefined references. - Canceled: the import operations were manually terminated. Resources imported before cancellation were not removed.
- No running imports: the import container has no running or waiting import operations.
History of an Import Container
To view individual import request items or operations of an Import Container, click the corresponding row in the import logs table. The operations are uniquely identified by resource key and the table displays the following details:
- Status: symbolic representation of an import operation's status:
- Red indicates a
Failedoperation. - Blue indicates an operation in progress or waiting.
- Green indicates a
Successfuloperation.
- Red indicates a
- Identifier: unique identifier of an operation.
- Validation message: placeholder for the details of the import status that displays the detailed error, required action, or success message.